First of all however, to give credit where credit's due, here is my inspiration for the basic technique for painting the armour and metallics.
Let's take a look at the end result now. After all if you don't like the end result you can stop reading here and it will save you the chore of reading the rest of the article. I hope you'll like it and keep reading but it's up to you. There will be lots and lots of pics in order to showcase how the technique works in different minis and also because I like showing off my minis. So if you're in a hurry, just scroll down!
Tactical Marines:


Assault Marines:


Death Company:


Bikes:


Rhino:


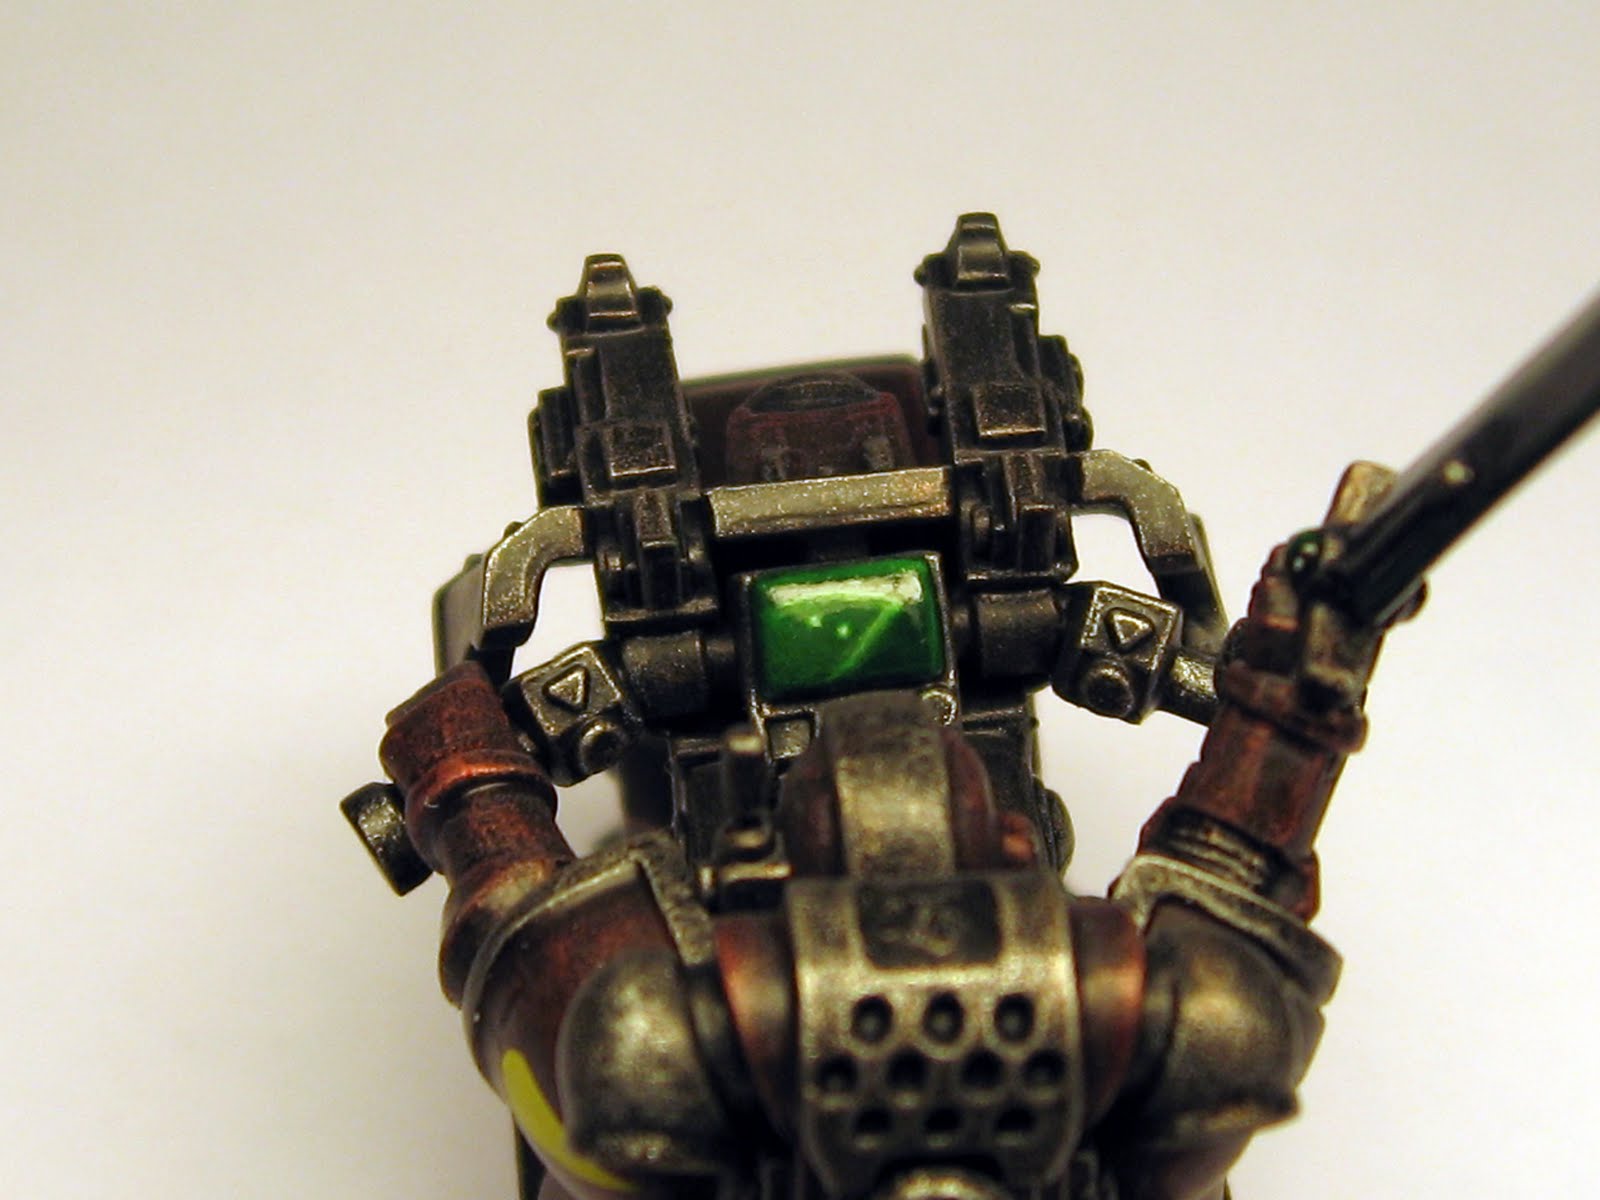
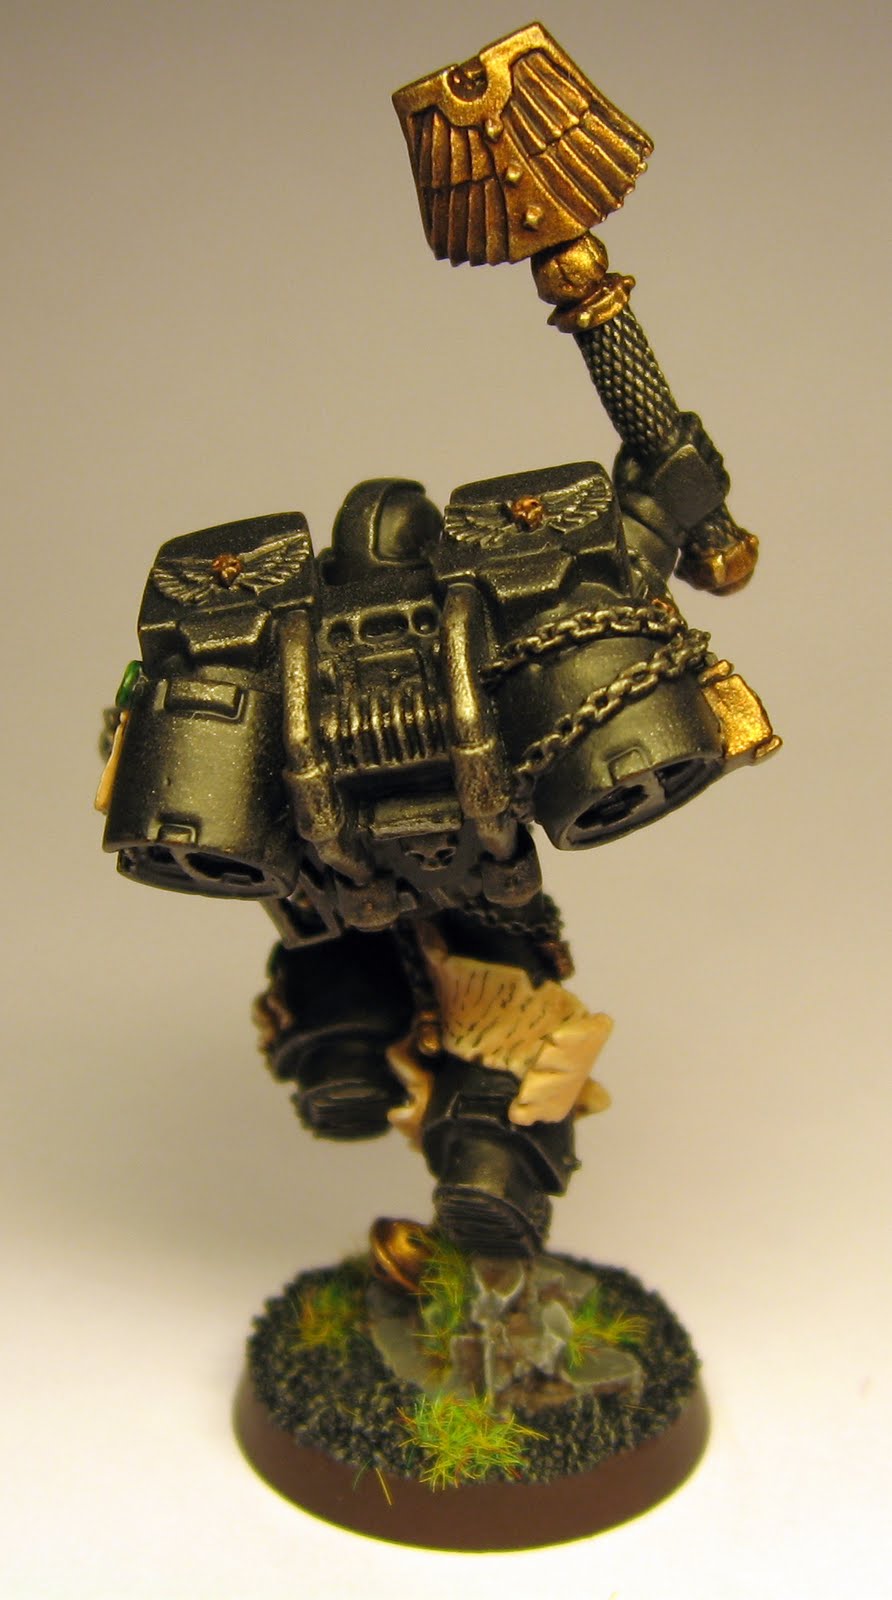
Chaplain:


I told you there will be lots of pics... If you've scrolled that far you probably like the end result so I guess we can move on to the tutorial itself. Let's start with the paint recipe for the main colours and I'll throw in a couple of comments afterwards for good measure.
Armour:
-Drybrush Tin Bitz
-Drybrush Boltgun Metal
-The red parts of the armour/weapons are painted with undiluted Red Ink (I don't wash or glaze them, I use the ink as if it was a regular paint)
-Black parts of the armour/weapons are painted with undiluted Black Ink
-Metalics are ready from the Drybrush stage so no further work here
Eyes & Purity Seal wax:
-Orkhide shade (shadow)
-Dark Angels Green (basecoat)
-Snot Green (highlight 1)
-Scorpion Green (highlight 2)
Purity Seal paper & scrolls:
-Calthan Brown (shadow)
-Talarn Flesh (basecoat)
-Bleached Bone (highlight 1)
-Scull White (highlight 2)
Yellow on bikes' headlights:
-Iyanden Darksun (basecoat)
-Brown Ink:H20 1:1 (shadow)
-Golden Yellow (highlight 1)
-Sunburst Yellow (highlight 2)
-Bad Moon Yellow (highlight 3)
Plasma gun/ pistol coils:
-One coat of dilluted Hawk Turquoise over the drybrushed metallics.
As you've seen, the paint recipe covers everything apart from little details like pouches etc. I believe you're more than capable of picking the right colour for these so there's no need for me to help you there. Something important to keep in mind is that because this technique makes the armour look quite dark, you should keep your details bright. It would be even better if some of the details are painted in a contrasting colour. In this example I painted the eye lenses and purity seals green so they'll contrast with the dark metalic red armour. What's realy nice with that technique is that, since you can have your armour and (silvery) metallics ready quickly, you can lavish some extra attention on the details. You can see that on the chaplain where I tried to put some extra effort on the scull mask and the scrolls.
To conclude this tutorial I'd like to add that you can experiment with different inks and also with the new washes to find the specific metallic colour that suits your army. You could also experiment with how many coats of ink or wash you paint over the armour. I went with one coat for a more weathered look but if you want brighter armour you could try more coats. Furthermore keep in mind that the intensity of the colour of the metalics and the armour will depend on how heavy the initial metallics drybrush is. You could experiment with that if you want a darker or brighter effect on your minis.And one last bit of advice. If you're using the old GW inks you could try adding just a tiny ammount of dishwashing liquid to break up the surface tension of the inks.
That's all folks. I hope you'll give it a try. I'll be here to answer any questions.


Δεν υπάρχουν σχόλια:
Δημοσίευση σχολίου